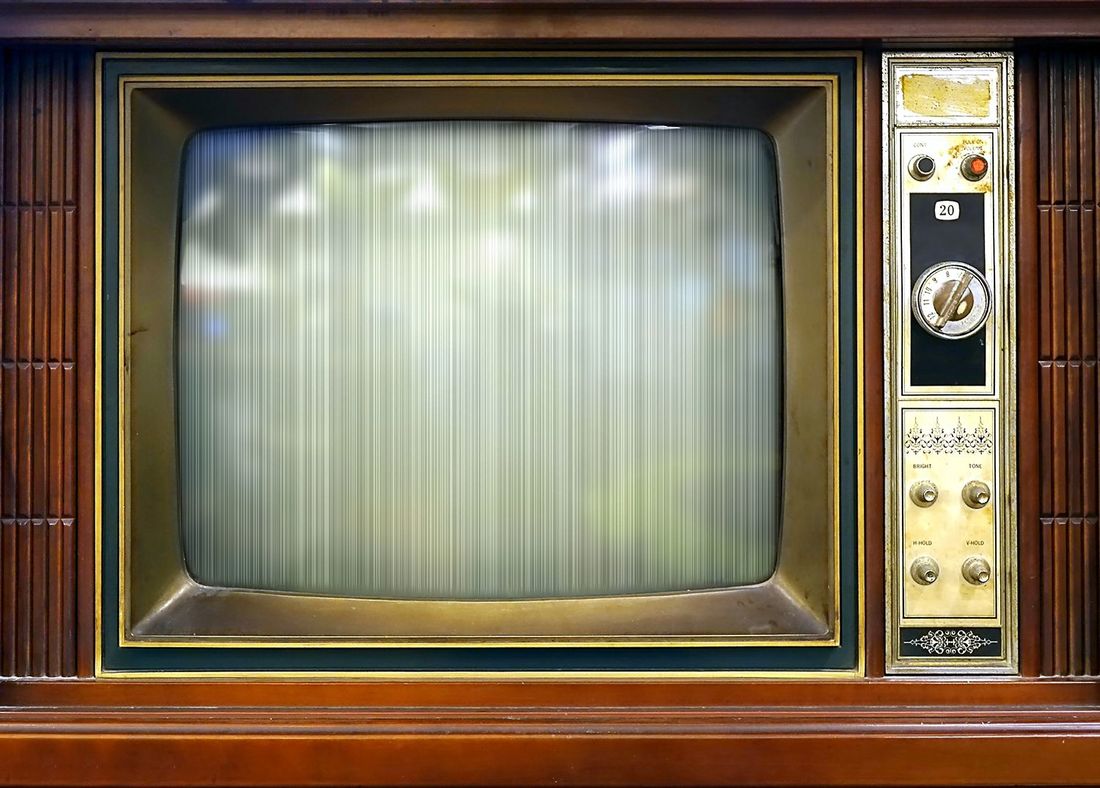
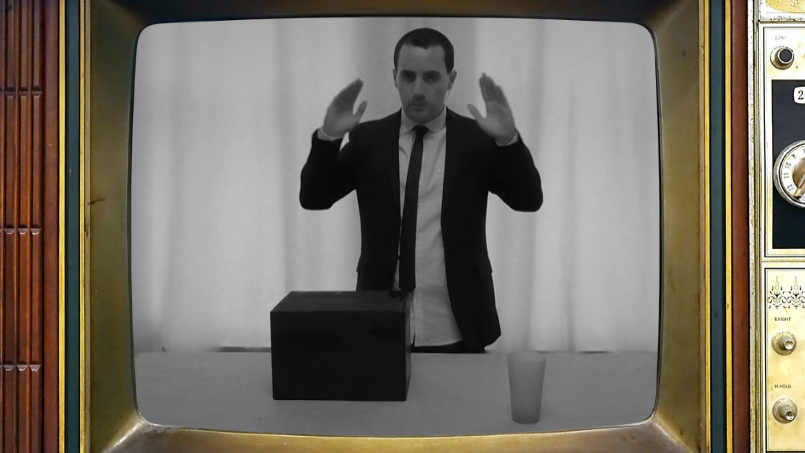
AnimationFor the animation, I set up view-port with the live action footage in the background to act as a reference. I then created a camera and plane that lined up with the table in the footage. This is the set-up where I animation the monster. 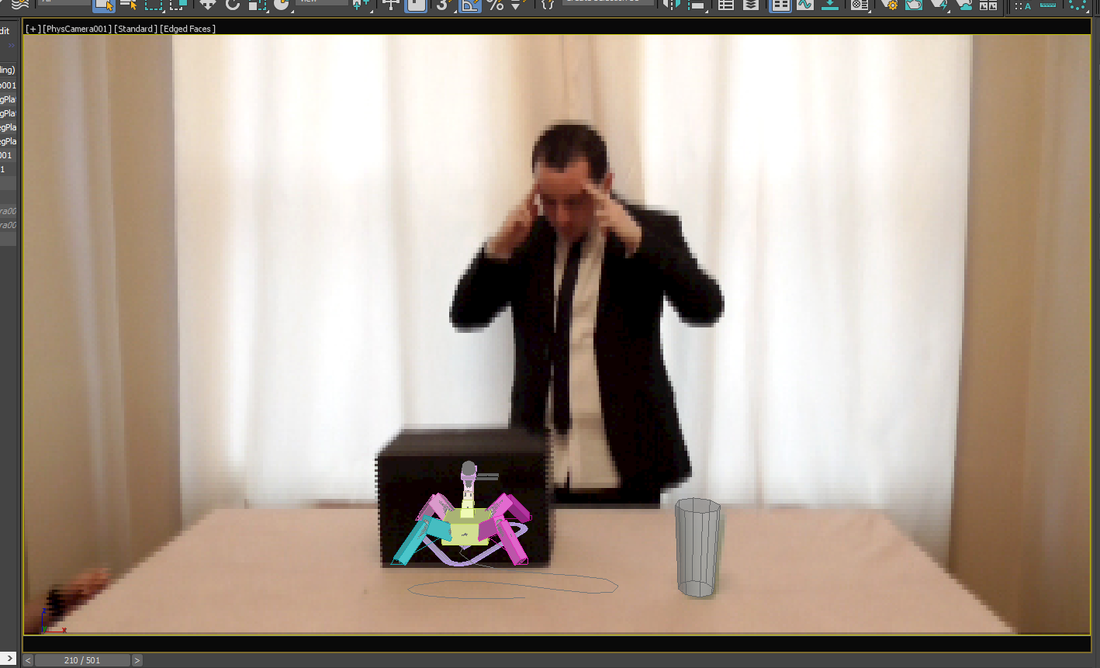 Originally, I had intended to manually animate the whole sequence using absolute layers. However, I wasn't unable to make the character move along a path without a CAT motion layer, which conflicted the absolute layers. I decided redone the animation with a CAT motion and adjustment layers. A few pieces of animations I created didn't make it in the final film, but can be viewed in the video below. The finished can be viewed here: EditingI brought the live footage and animation into adobe premiere, I overlay the animation on top of the footage , as well as making small adjustments including positioning and colour balance. 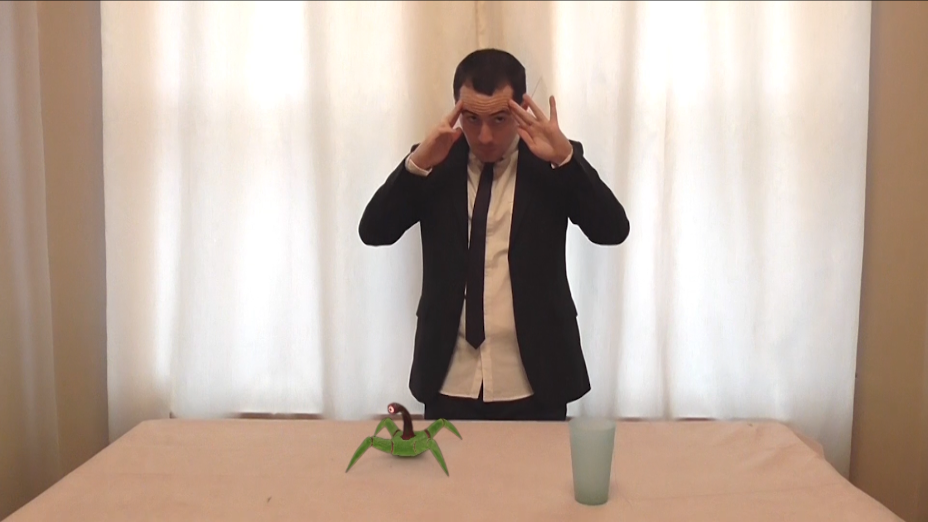 I wanted to make this piece look like a silent film, so I turned down the saturation and overlay a film grain effect over the footage. 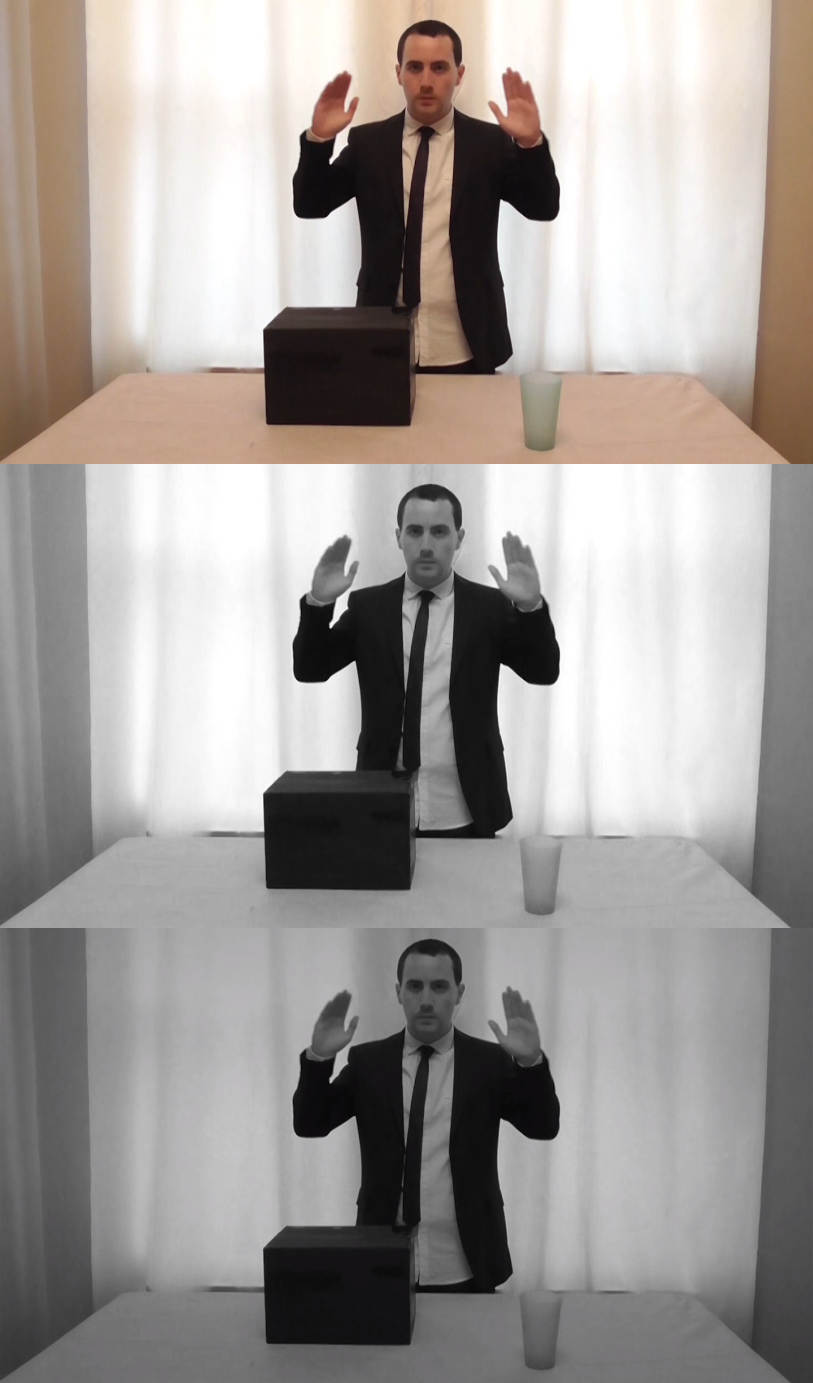 I also wanted the film to have same aspect ratio as classic silent film, but instead of black pillar-boxing on the side of the screen, I decided the create a border in Photoshop using the image of an old TV.
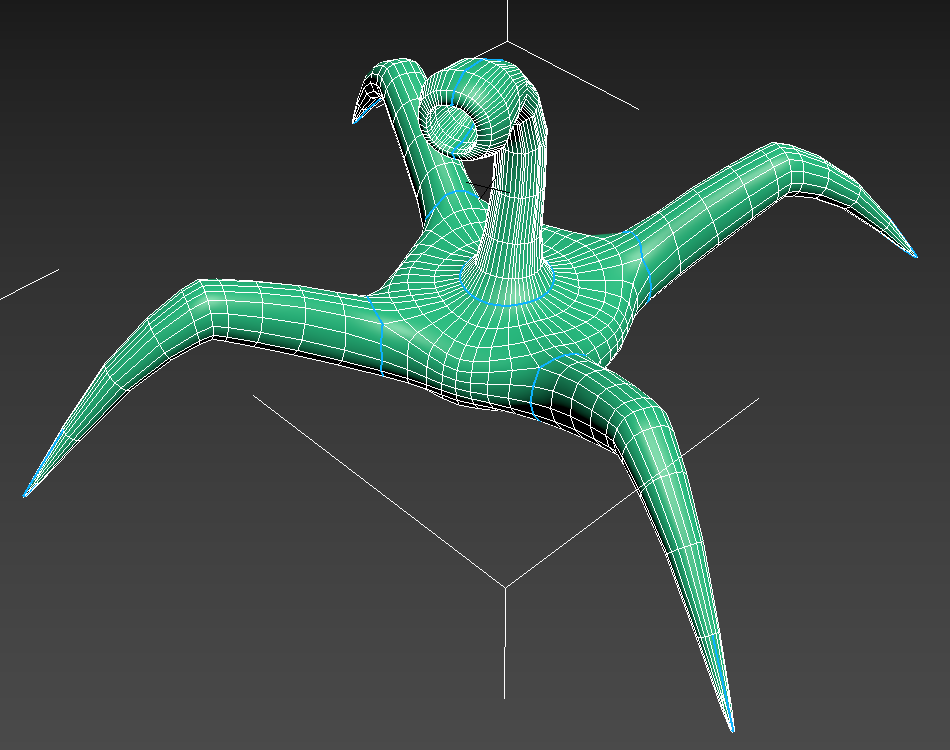
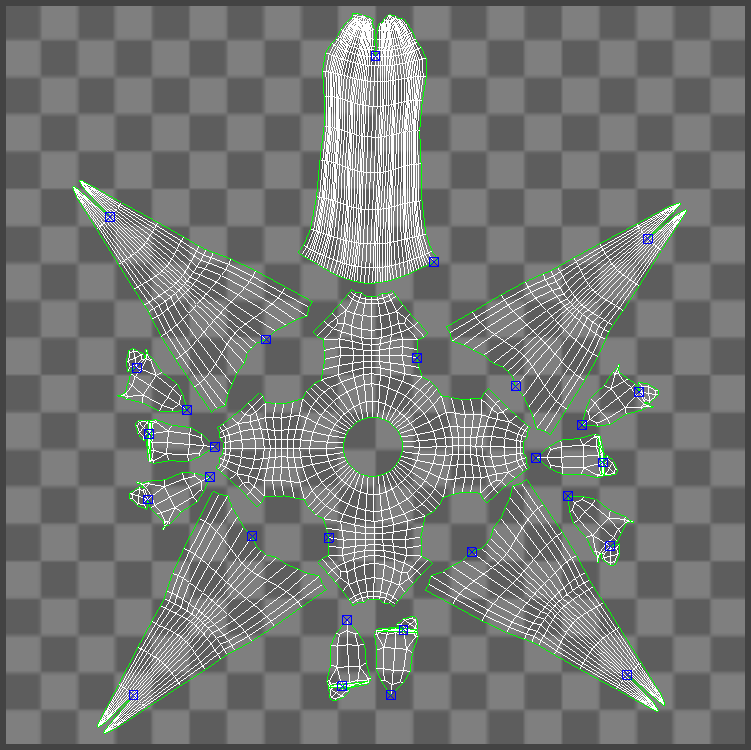
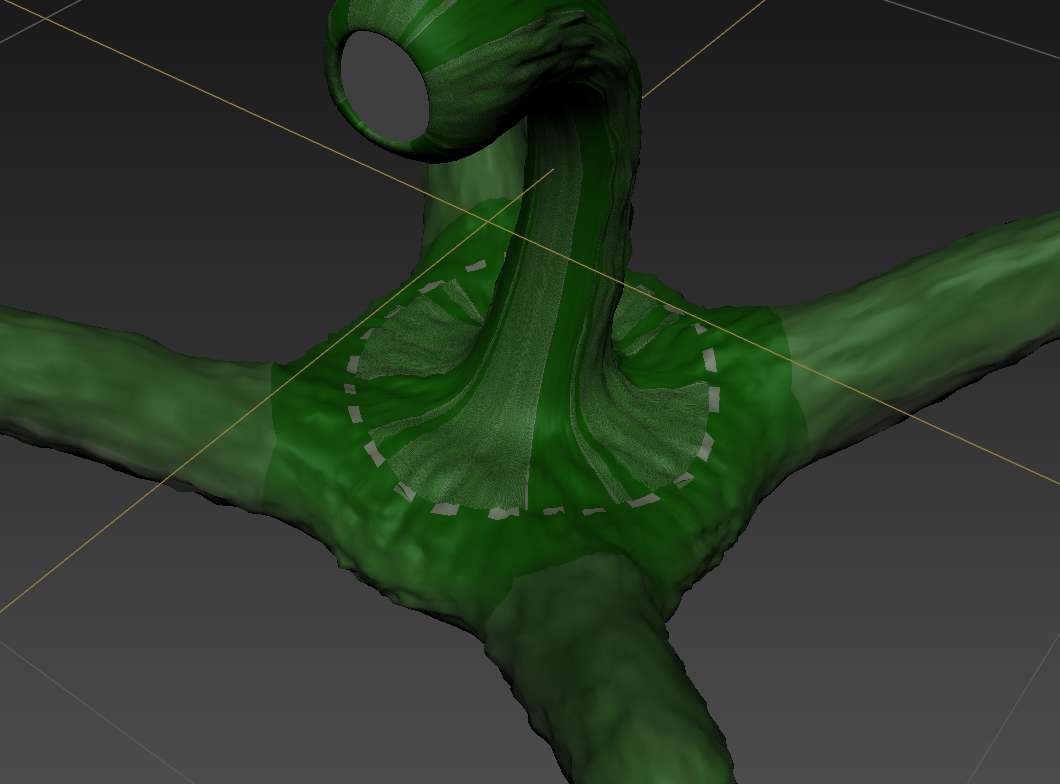
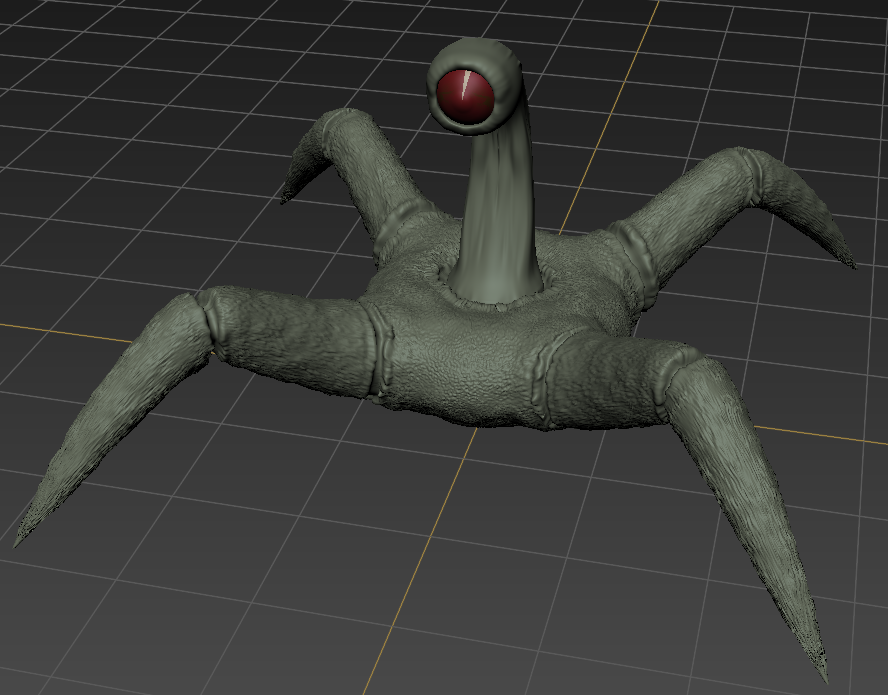
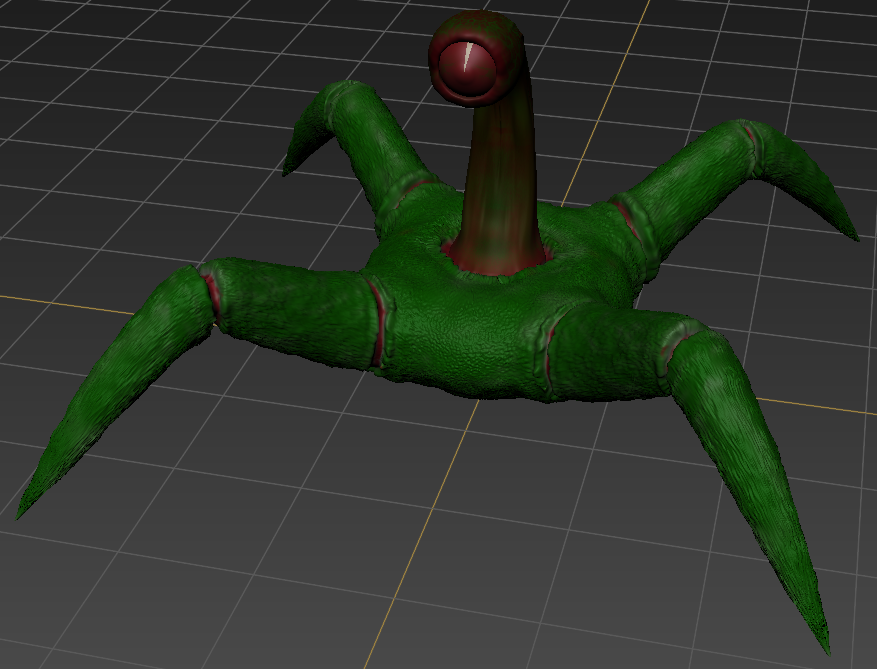
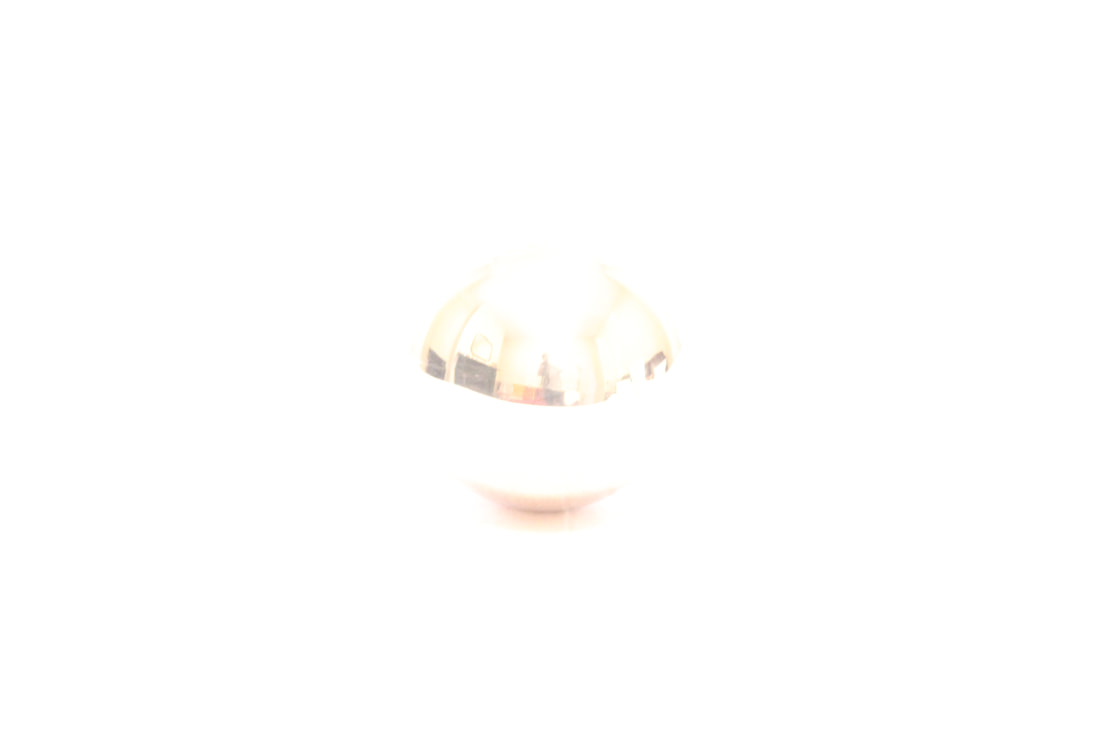
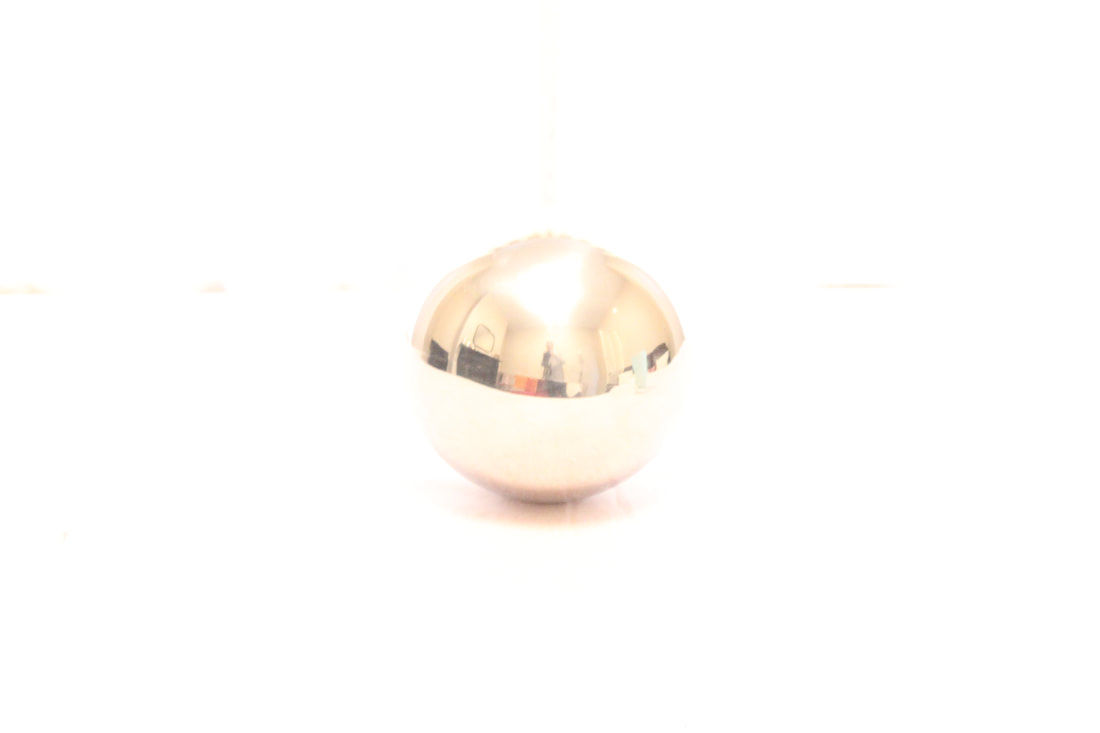
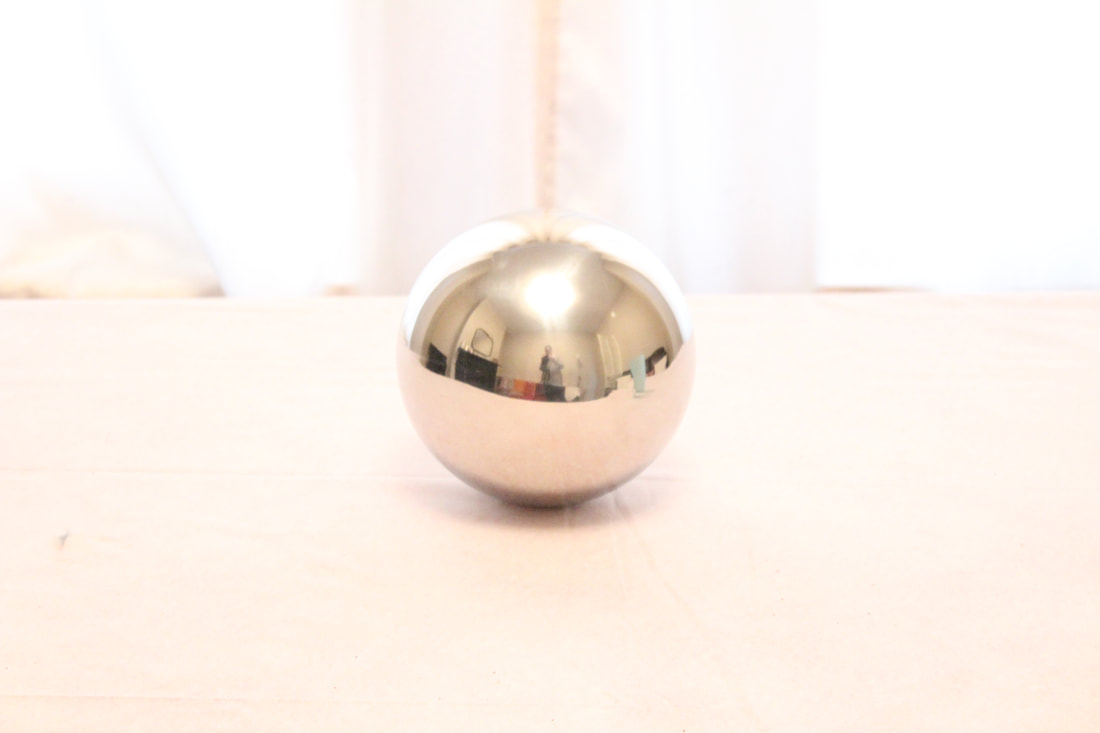
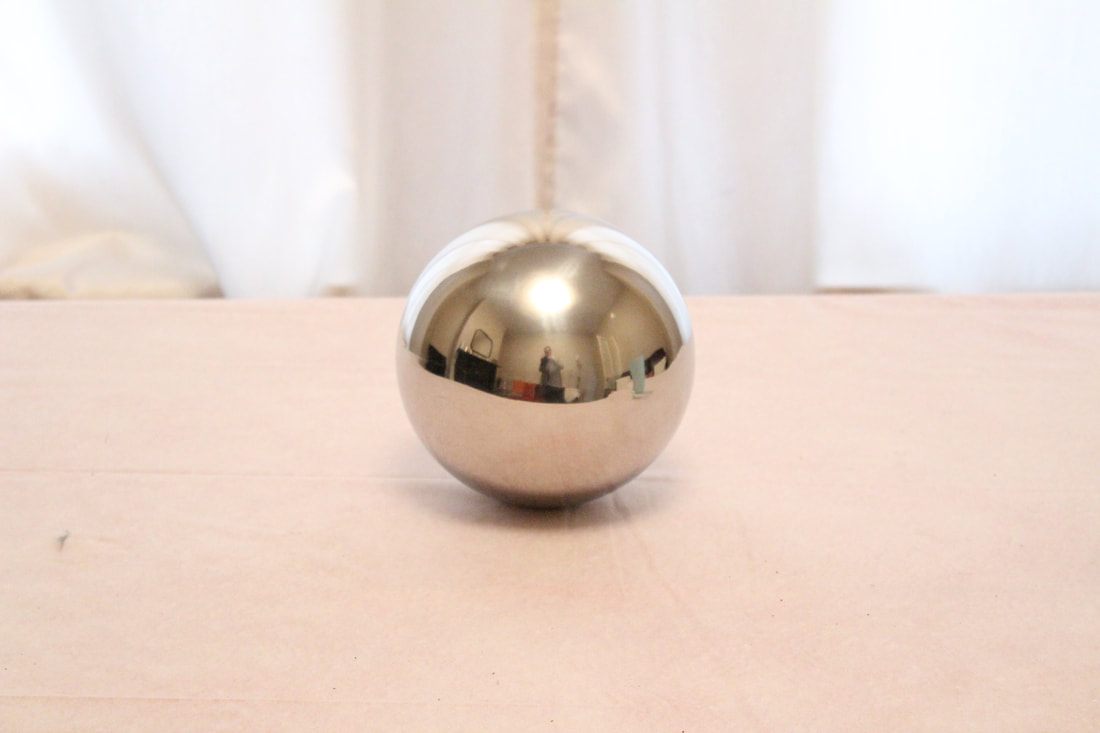
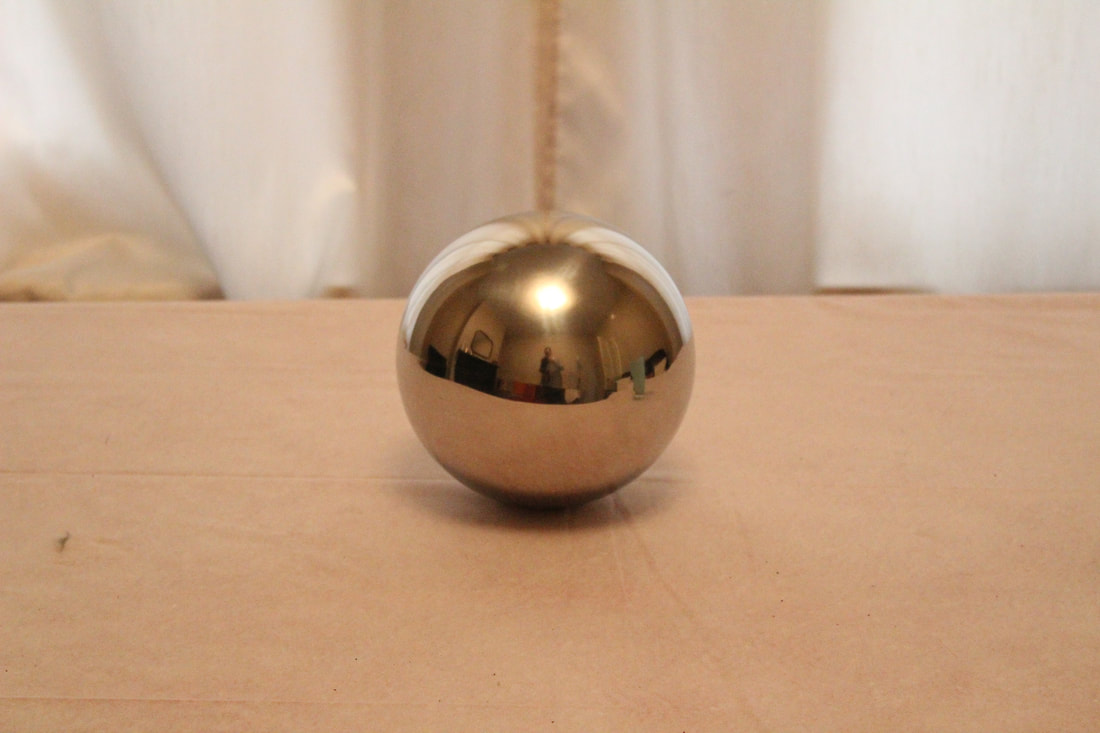
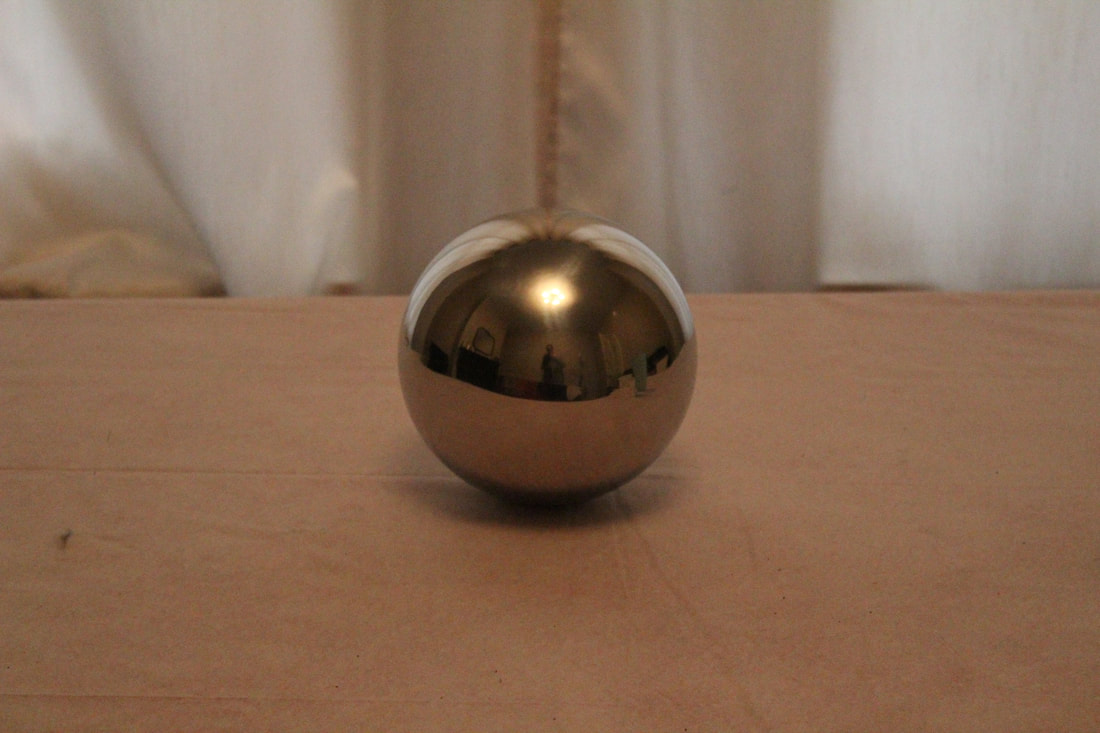
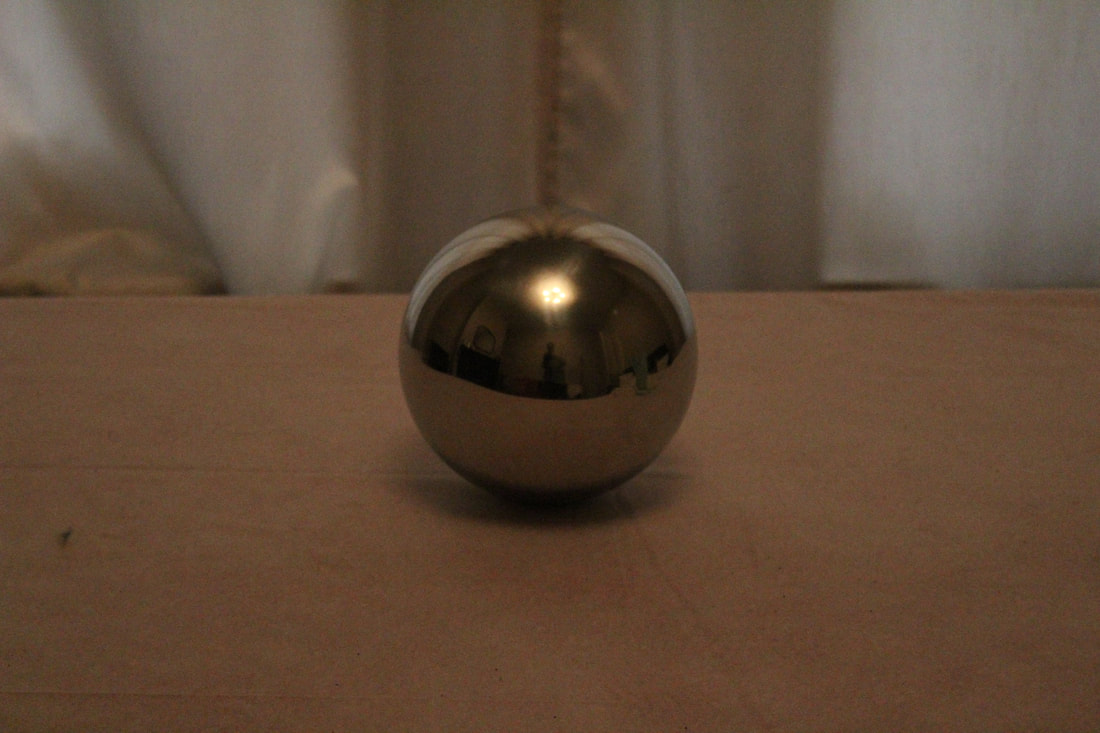
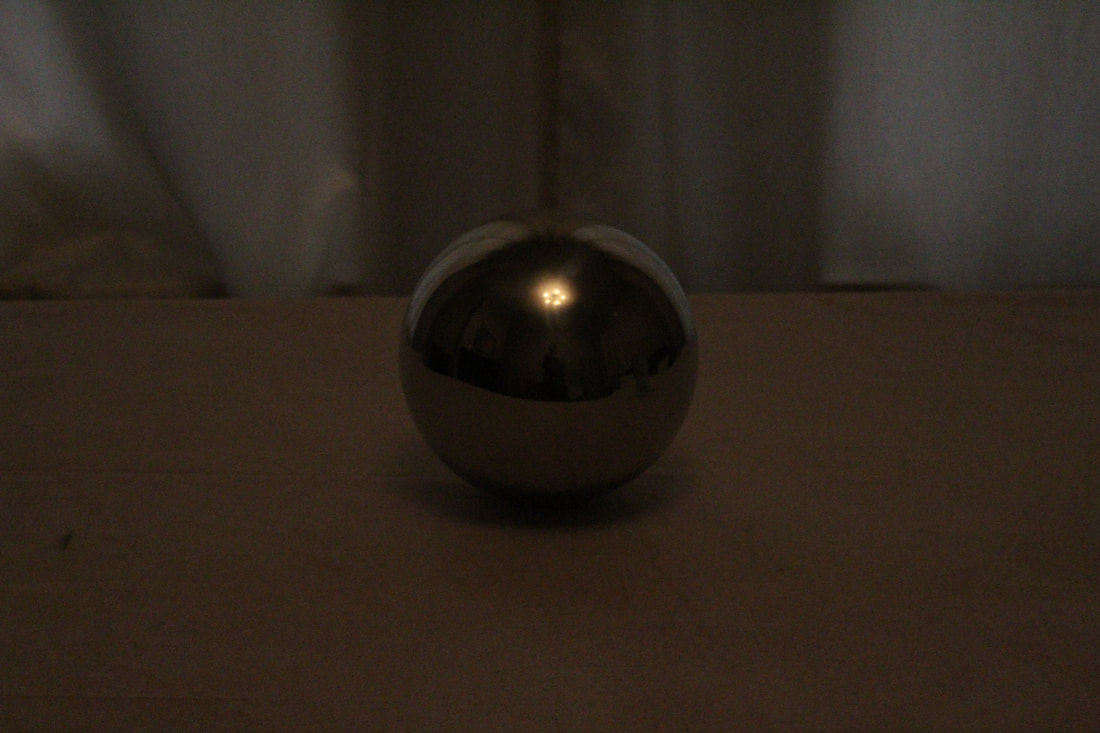
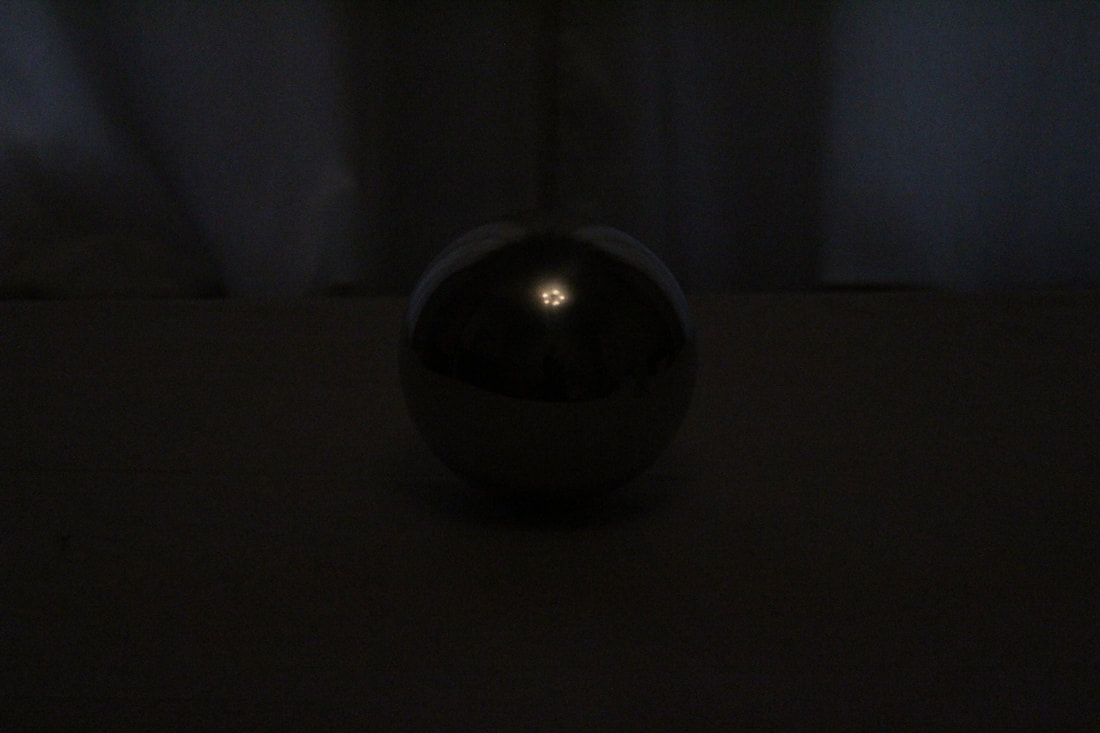
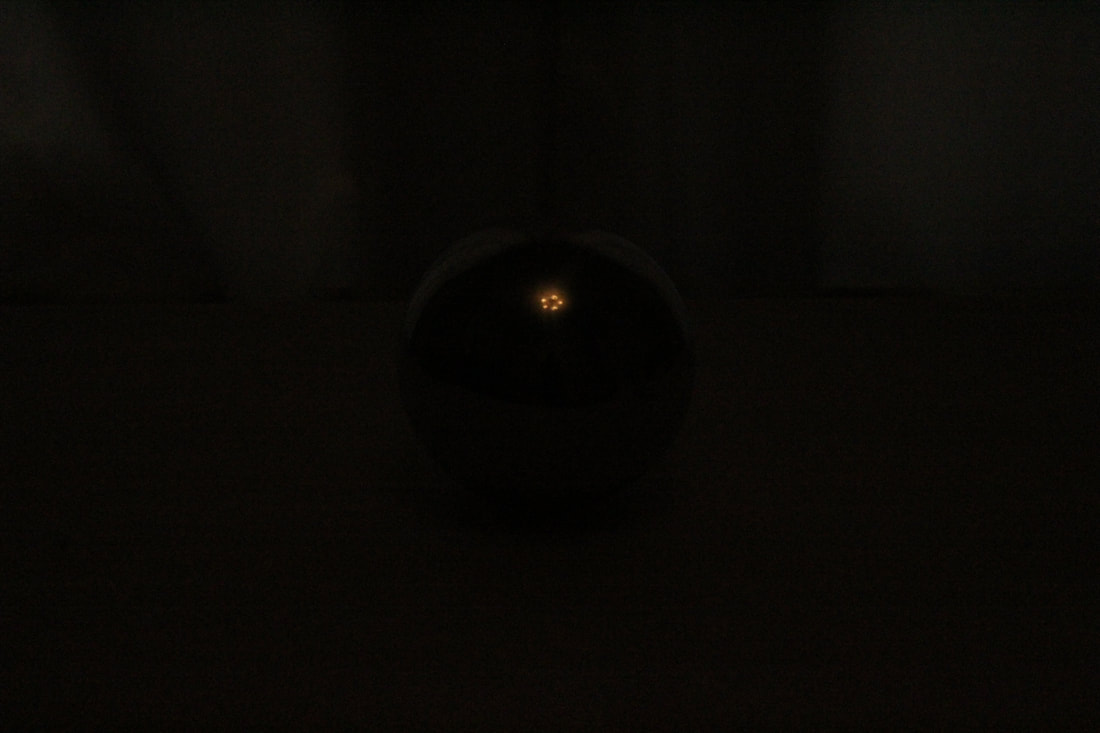
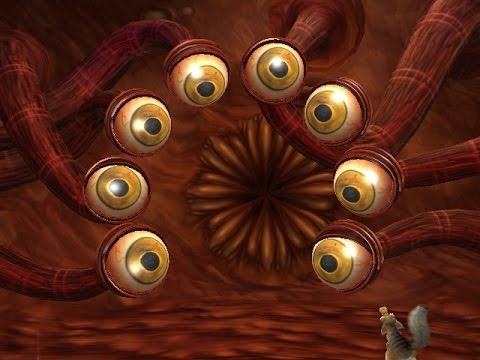
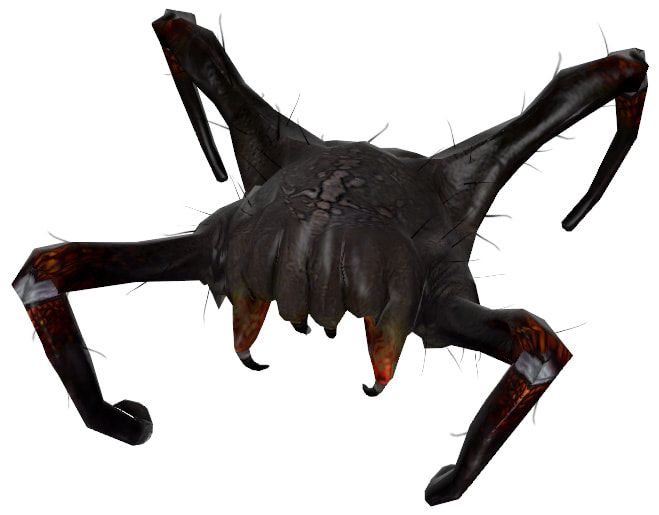
 I used Photoshop to created title cards for the film. Originally, to create a normal map for the monster, I first applied a UV unwrap to the model. Then imported the model into Mudbox. However, when I attempted to paint textures onto the model, I discover that there was an problem with the UV mesh. After several failed attempts to fix the problem, by importing models with different UV unwraps, I decided to use an option in Mudbox to recreate an imported model's UV. I sculpted and painted textures onto the model, which were then be used to create a normal map The Completed Model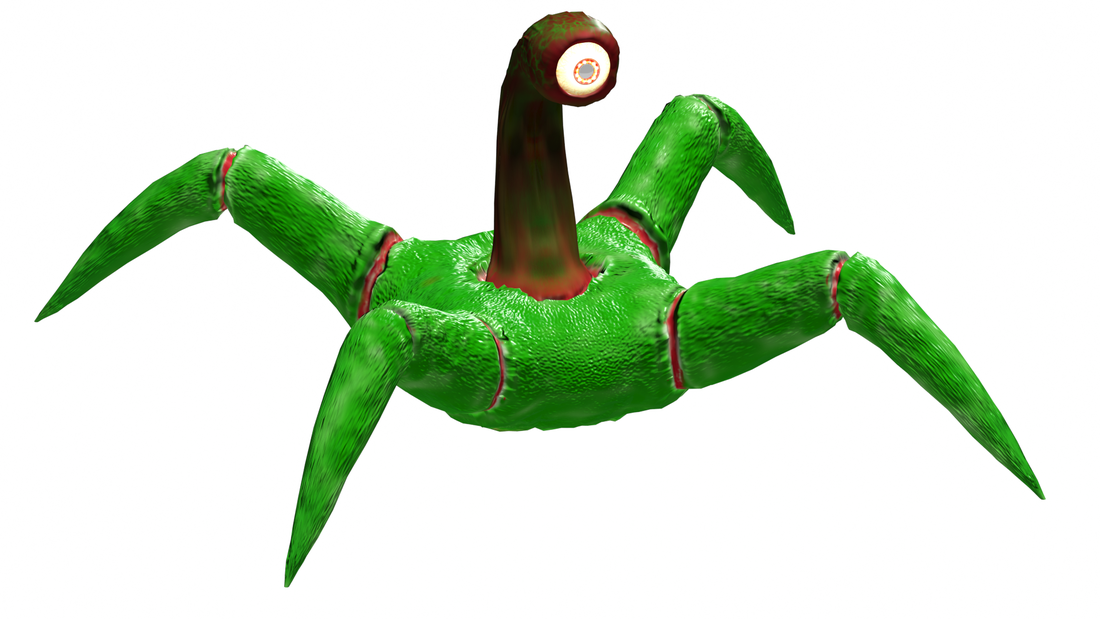 I created a CAT animation rig for the monster character, however, the rig will not be attached to character until it gets a UV unwrap and a normal map. 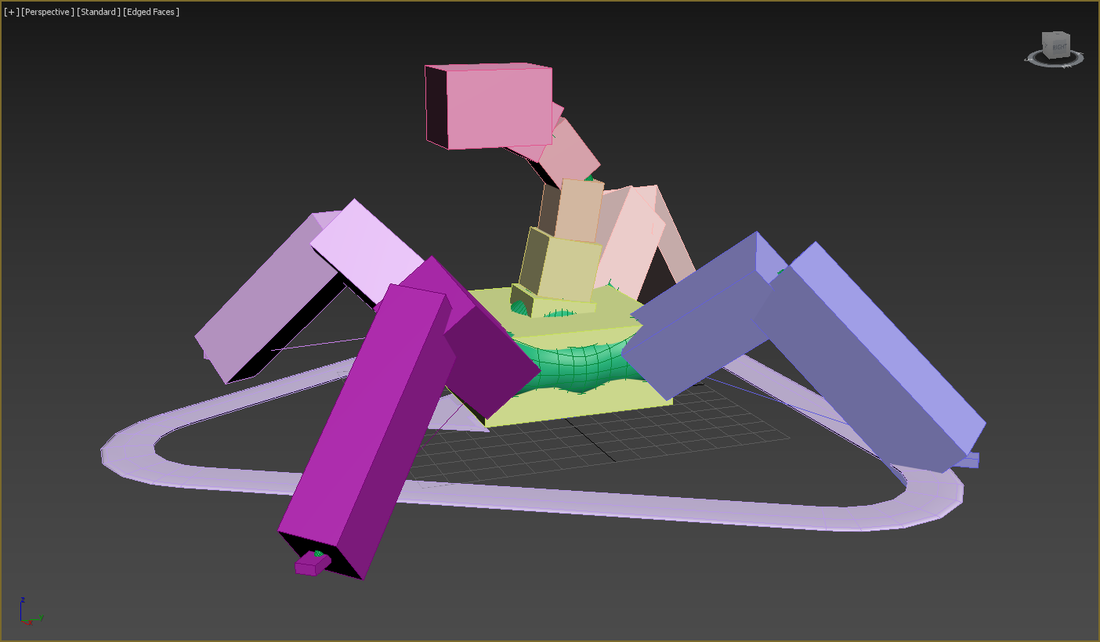 I got some feedback from Mark about how the brief going, he suggested having the monster interact with objects in the environment. I decide to revised the storyboard to include the monster running into and knocking over real world objects. I also changed the title character from a monster charmer to a monster mind controller, to remove the need for a flute. 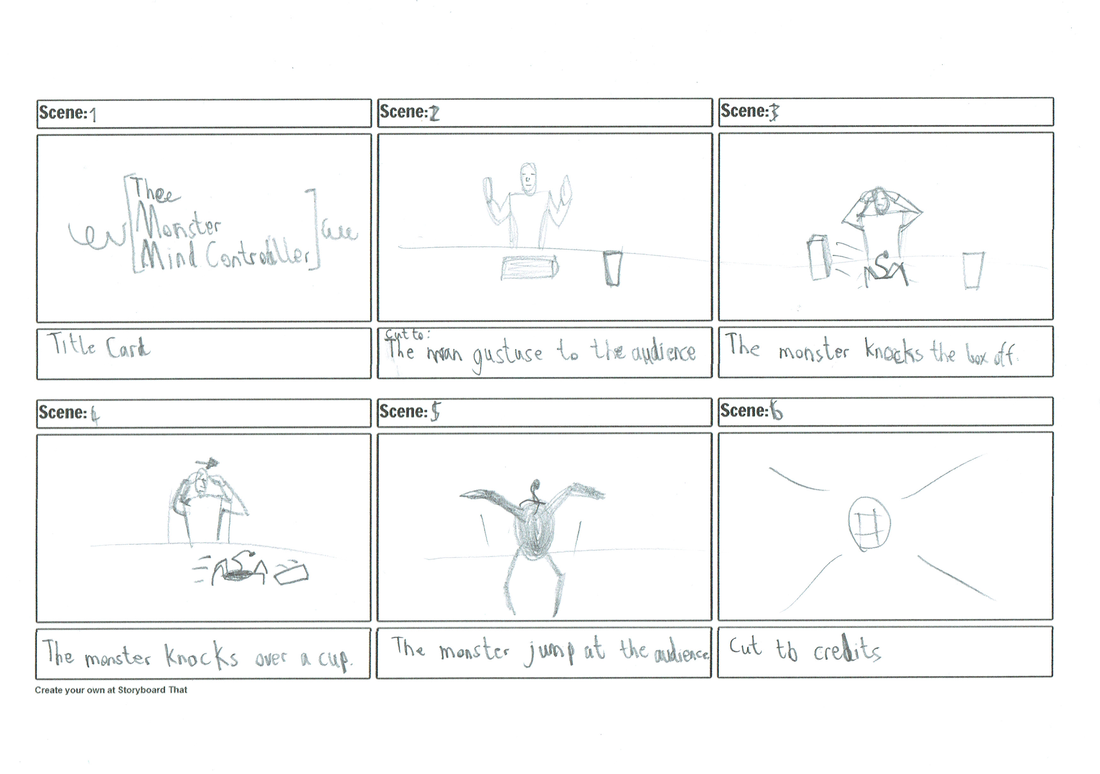 Before the day of filming, with the of family members, I had gonna a box and a cup with strings attached to both of them. The scene was film in my house, as one of the rooms had large curtains, which I thought would make a good backdrop for the scene. While filming the scene, my brother put the strings on the box and the cup, to make them appear as if them were knocked over. After filing, I place reflective sphere in table where the monster would be in the finished piece. I then took several photos of the sphere at different exposure levels, I combined these photos together in HDR Shop to create a HDR map which will be used in the rendering of the 3D monster model. After designing the monster, I began modeling the creature in 3ds Max. 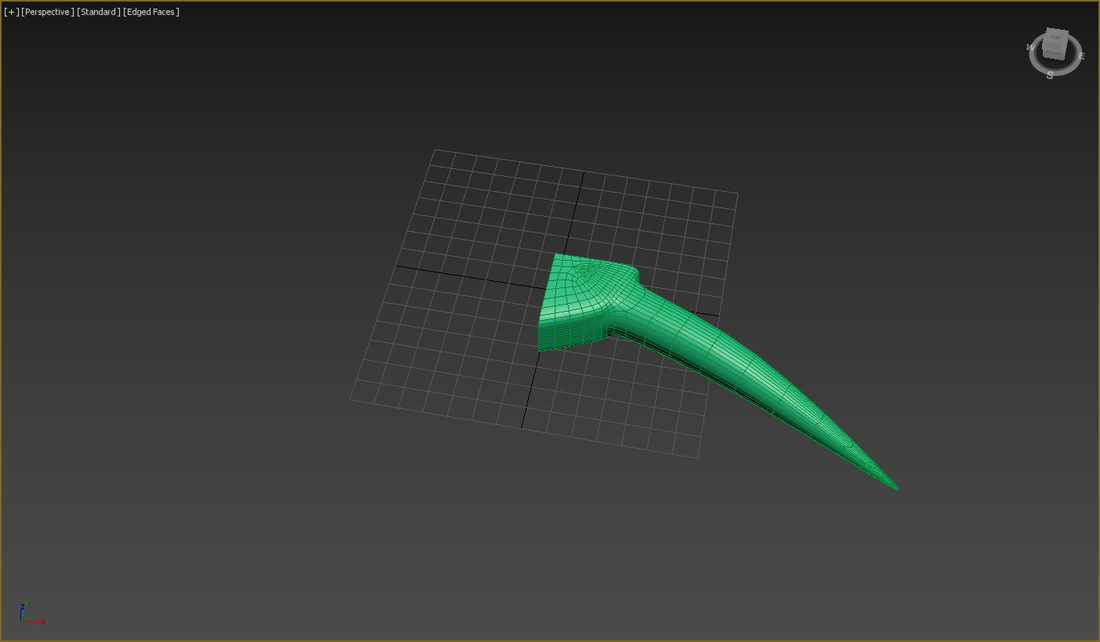 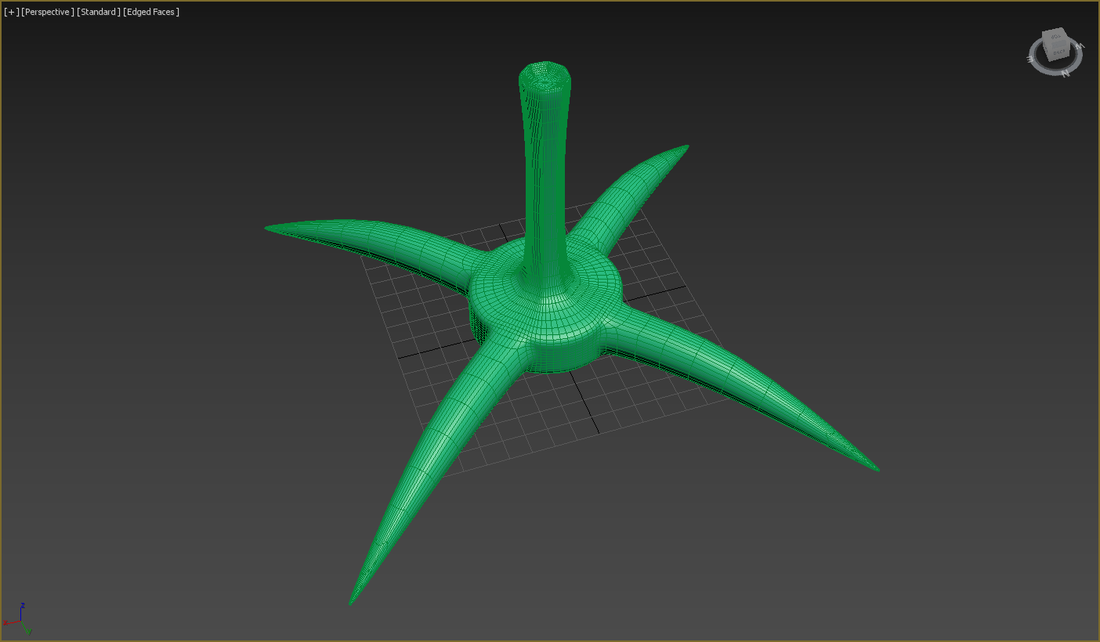 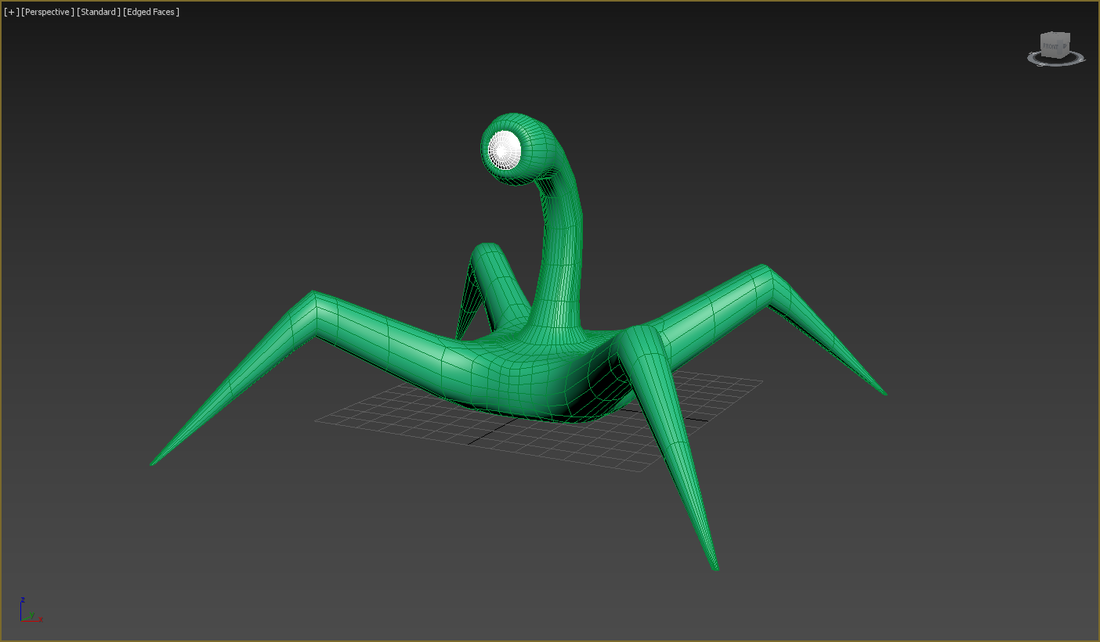 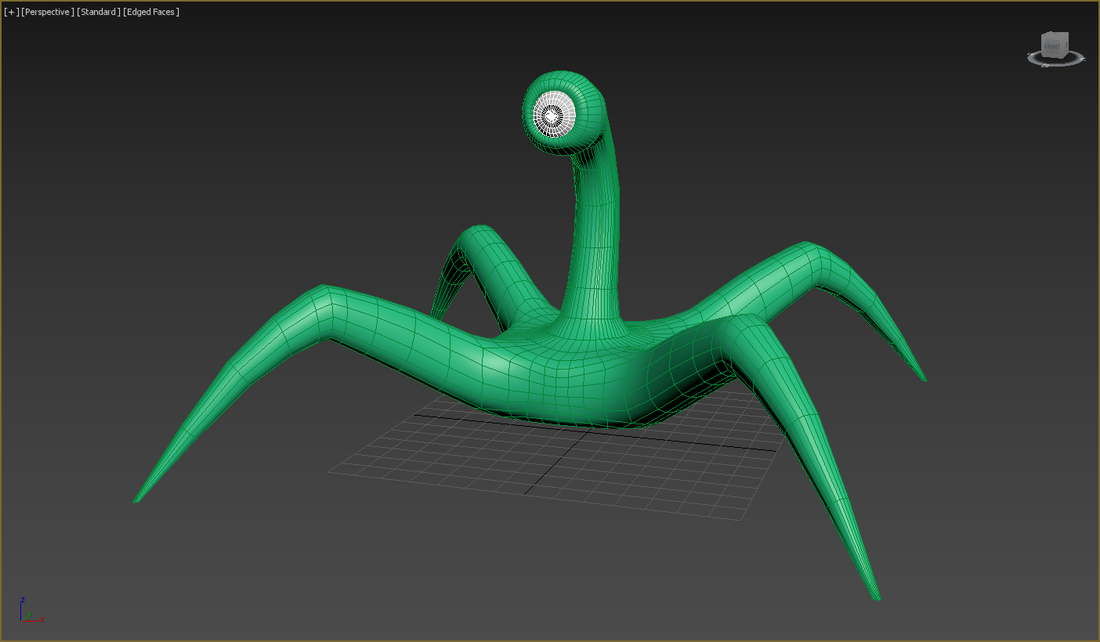  For Brief 2, I chose the "Syfy Super Monsters!" My short film idea is "Monster Charmer" about an man who can charm monsters, but one of his shows go wrong. I developed a thumbnail for the piece: 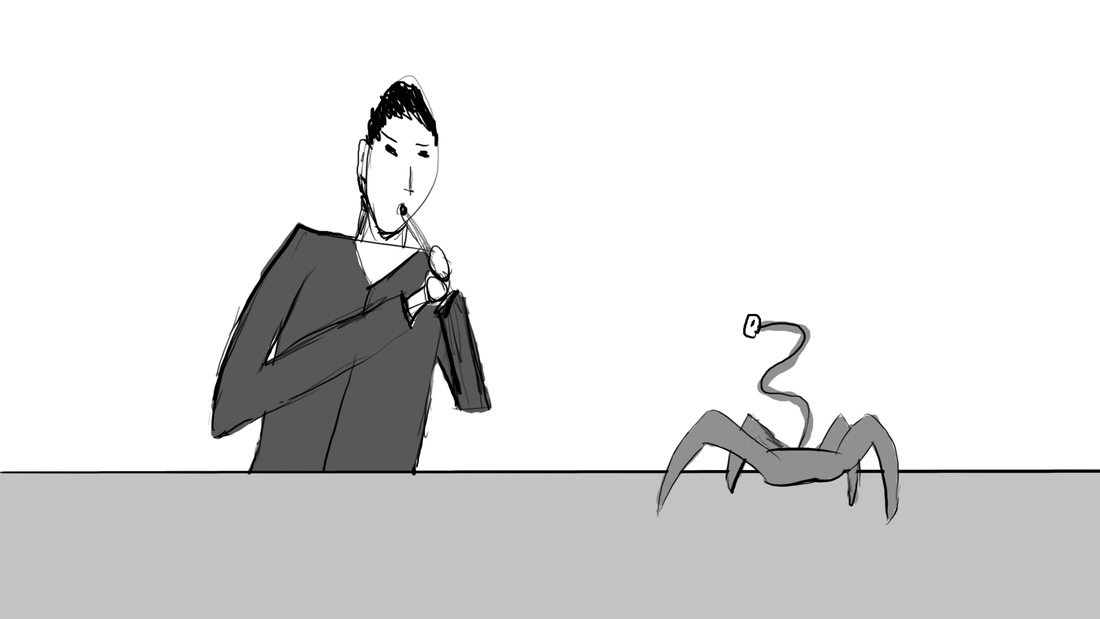 Then worked on the storyboard: 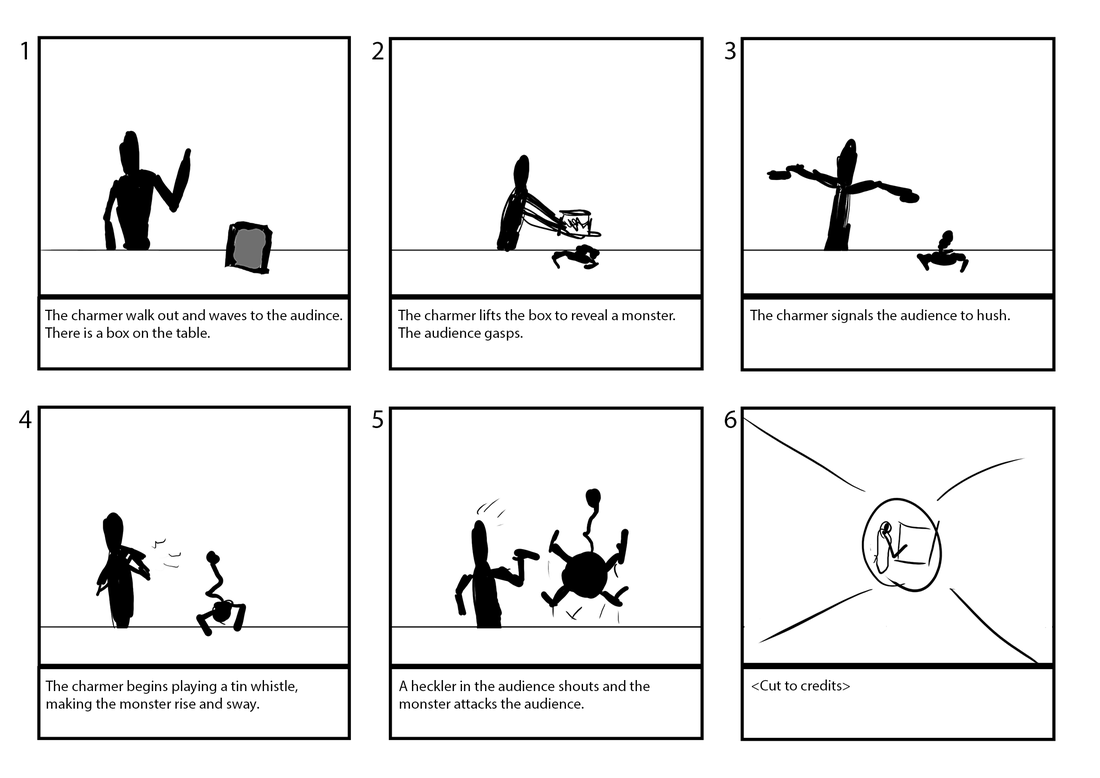 And finally fleshed out the monster's design: 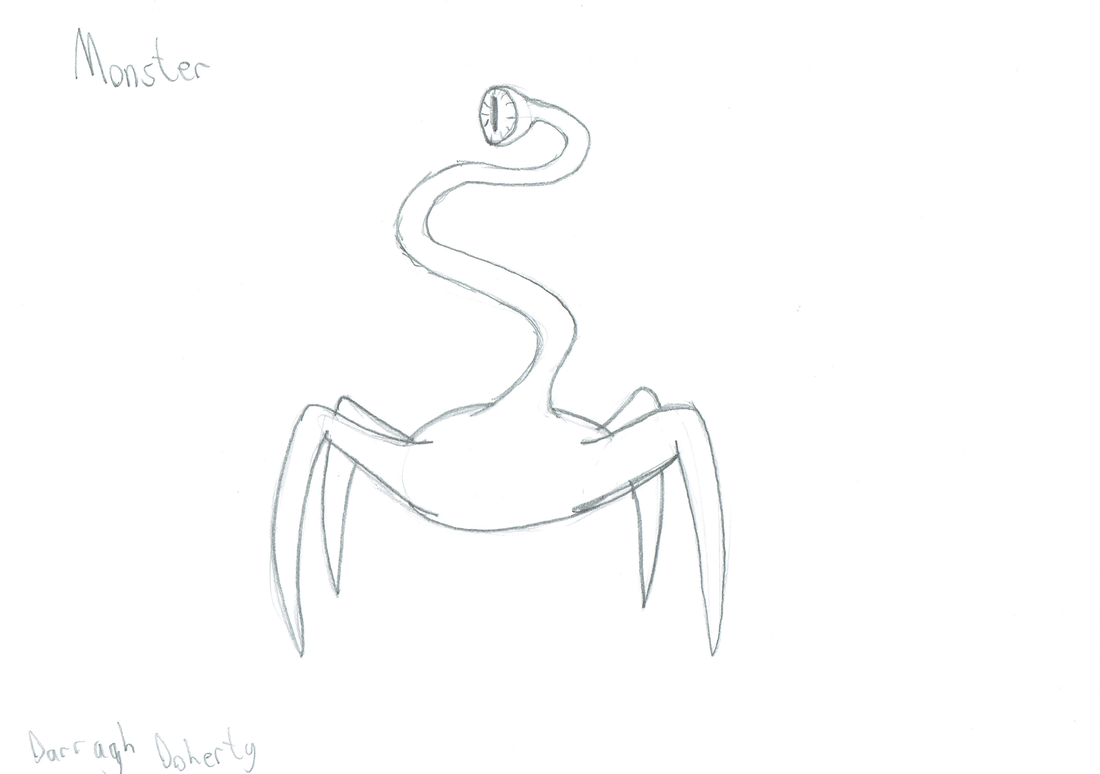 The monster's design was partially inspired by a creature (left) from the video game Ice Age 2: The Meltdown and the headcrabs (right) from the video game series Half Life.
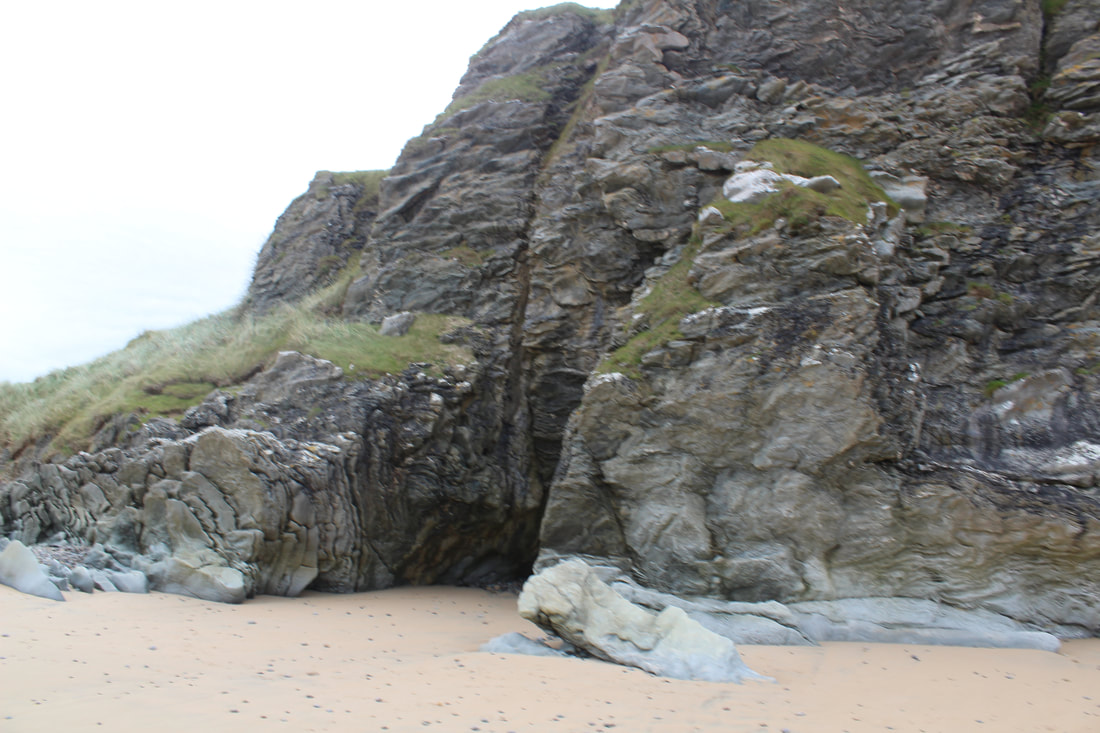
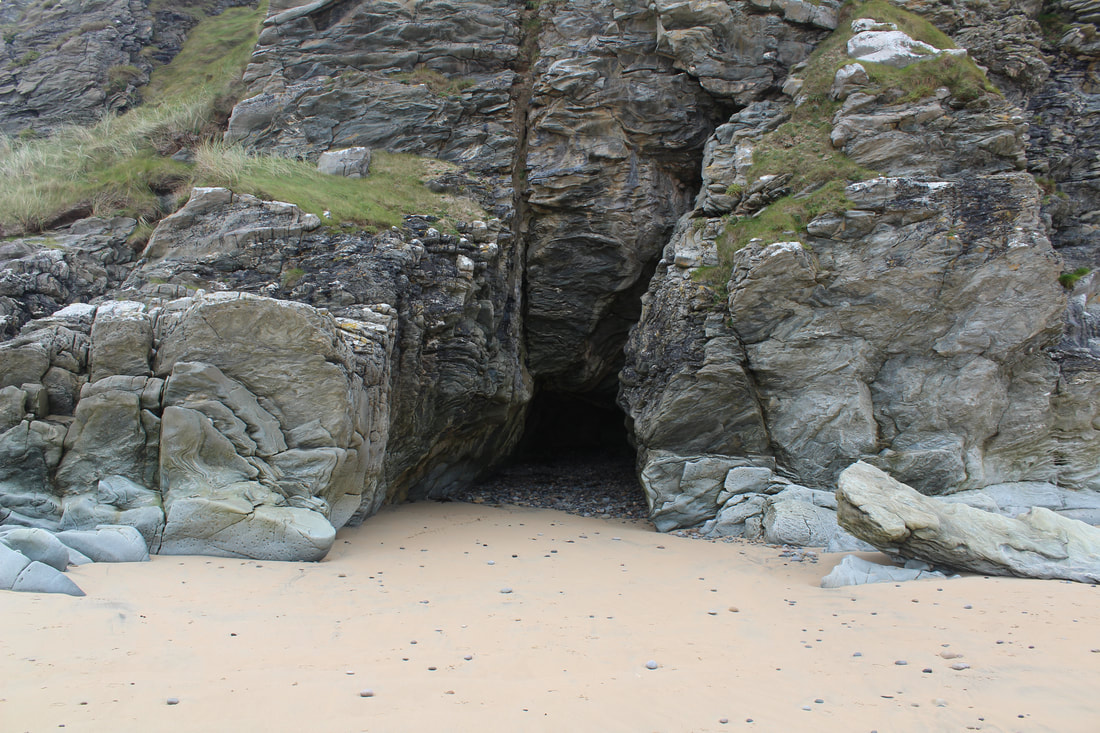
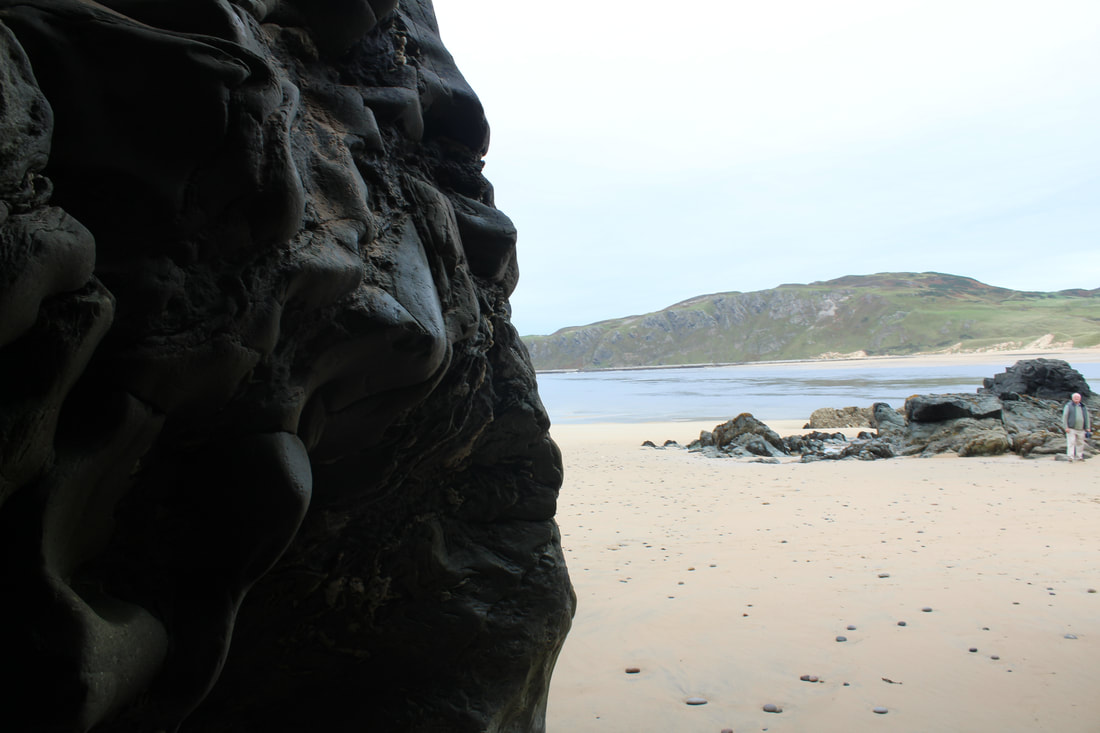
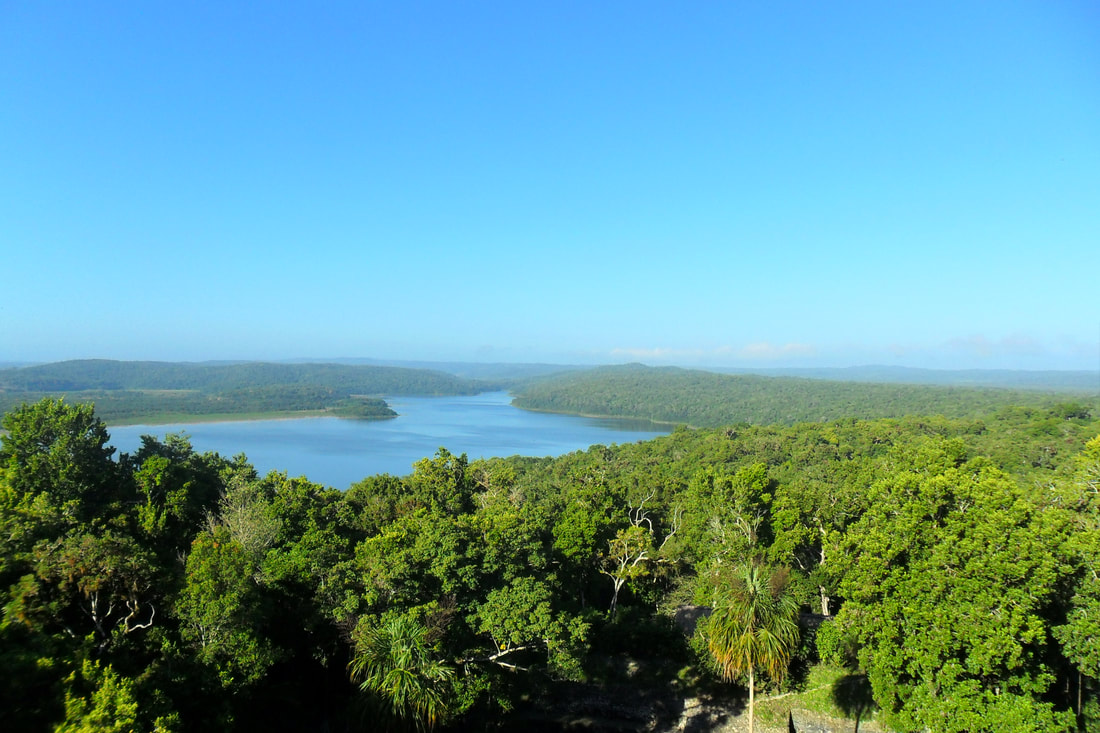
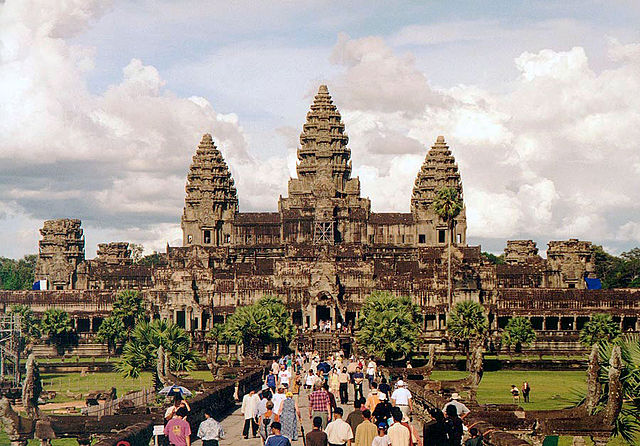
After showing my moving matte painting to the class, I was given feedback and advice on how to improve the scene. 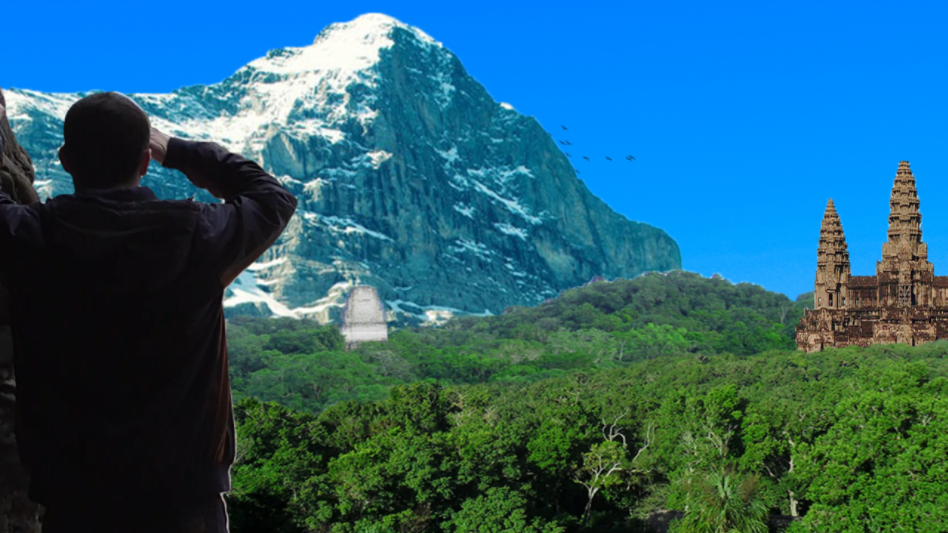 First was adjusting the hue/saturation for each layer, the further the layer is from the camera, the lighter it would be.  Second was to change the sky in the background from clear to cloudy, so that it was more noticeable when the camera moved.  Third was to add a key cleaner was to clean up the edges of the cave green screen. 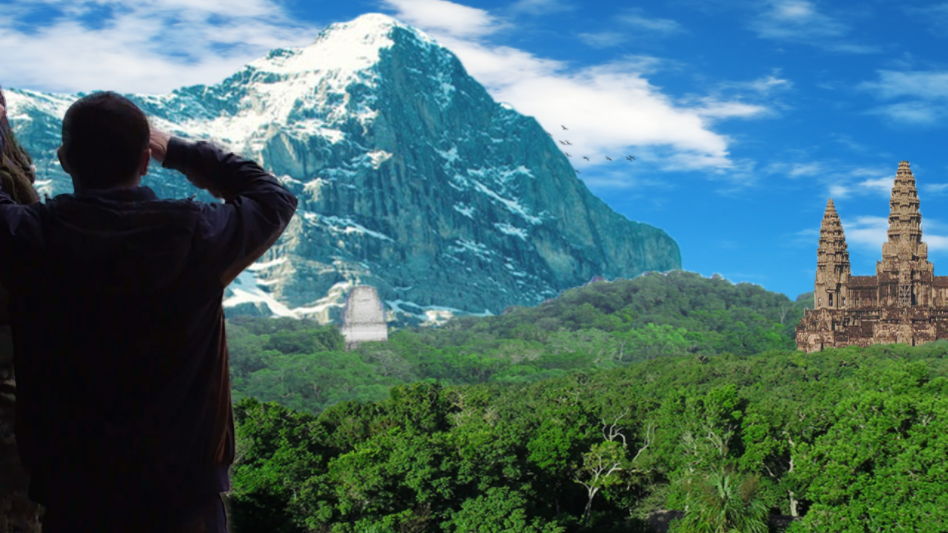 The Final change was to add a Gaussian blur effect to the layers, the further the layers are from the camera, the stronger the blur effect is.  The improved versioned can be viewed here: For the final part of the scene, someone looking out of a cave, I where to a beach with caves called the Isle of Doagh, to film the shot. Below is the footage it used for the scene. I had to slightly slow down the video speed to extend its running time to twelve seconds. I imported the Photoshop file with the edited photos, the bird flock green and the cave shot into After Effect. Started work on the cave shot, using the rotobrush tool to remove the beach, sea, cliff and skies. 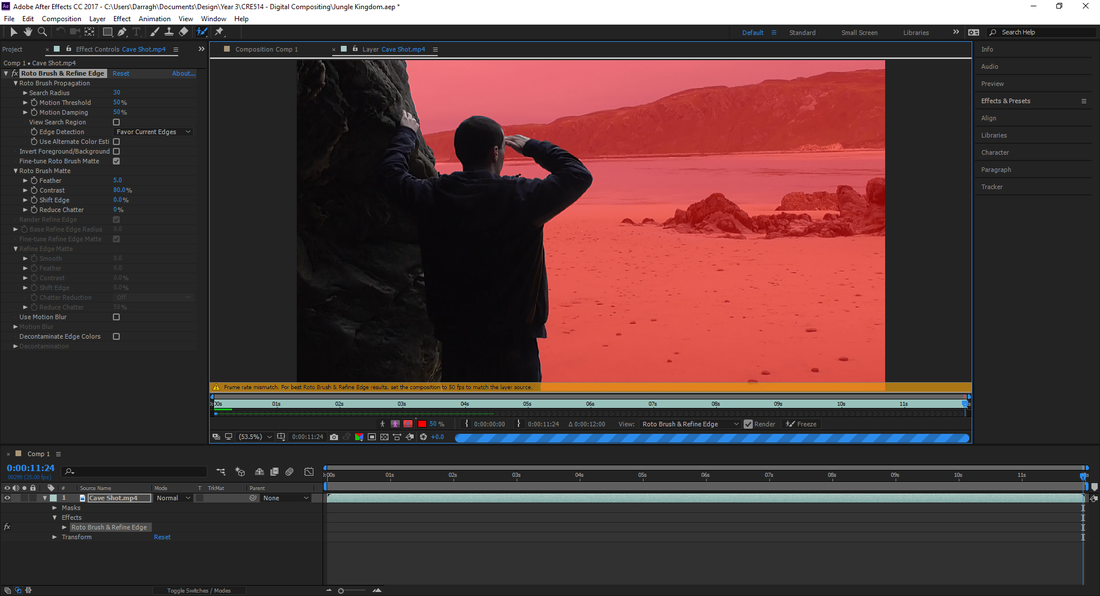 I then turned all the layers into 3D layers, added a camera and moved and adjusted the layers' sizes in the 3D space, as well as animating to camera. 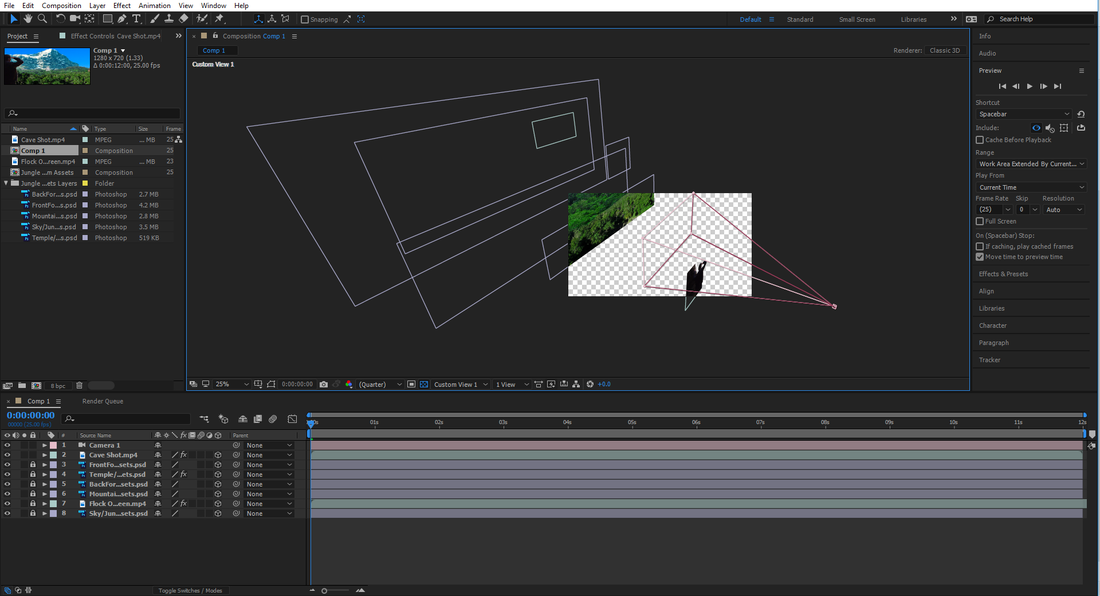 The finished scene can viewed here: I started by gathering images of jungles (from above the tree line), mountains, templates and skies from the internet. I then imported the photos into Photoshop to edit them, taking elements from each photo to create my scene. 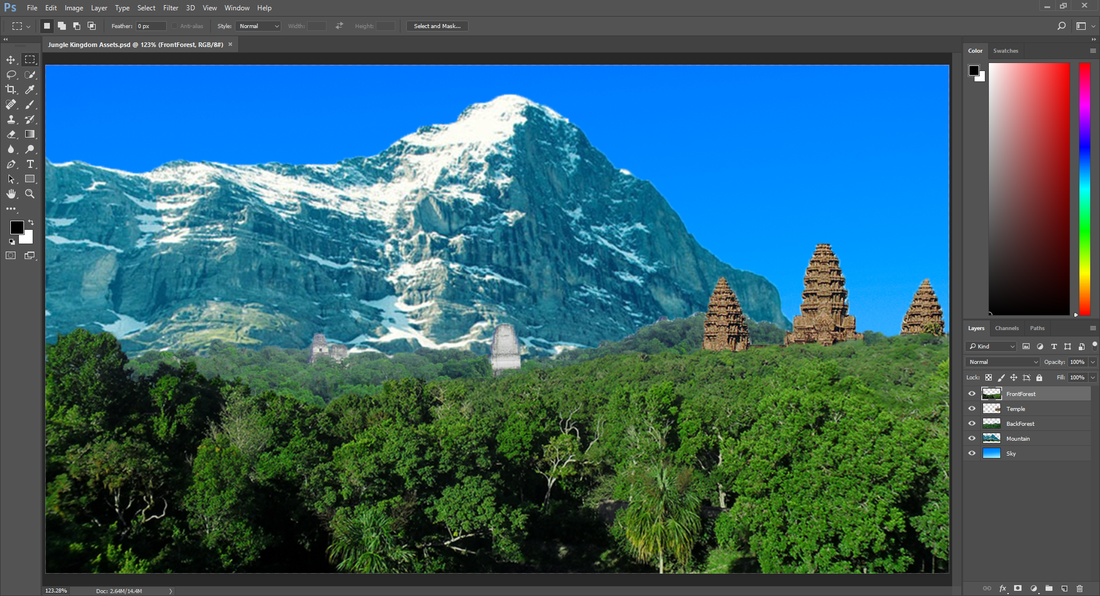 I also downloaded a green screen of a flock of bird, which I will use in my final piece. |